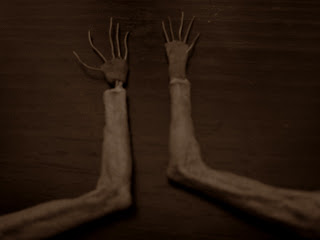
Tras unos días, os presento una continuación lógica del proyecto. La elaboración de los brazos, y su textura; el armazón o "esqueleto"de las manos,la realización de éstas, y la colocación de éstos elementos en el cuerpo del "Seplavite". Con estos pasos, quedarán pocas cosas de importancia por hacer, sin embargo, aún quedará un trabajo detallado de texturas en la piel, la correspondiente limpieza de la pieza, y un pulido final.
After a few days, I present a logical continuation of the project. The development of the arms, and its texture; the estructure or "skeleton's hand", and and the placement of these elements in the body of "Seplavite." With these steps, little things are important to be done, however, is still a work detail textures in the skin, and the corresponding cleaning of the piece, and a final polishing.
Brazos /Arms:
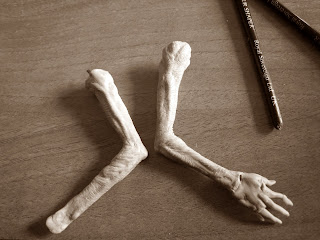
Los brazos, una vez definidas las proporciones, para darle mayor rigidez, puesto que son dos piezas muy delicadas, los he hecho partiendo de un trozo de alambre de aluminio, y añadiendo la cera, he modelado los volumenes principales, suavizando con pincel de goma, hasta conseguir el aspecto deseado.
The arms, once defined proportions, to give greater rigidity, since they are two very delicate pieces, I have done on a piece of aluminum wire, and adding the wax, I modeled the main volumes. softening with rubber brush, to achieve the desired look.
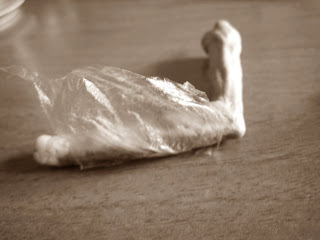
La textura de los brazos, es premeditadamente cuarteada, una piel llena de pequeñas hendiduras, y esto lo consigo aplicando un plástico en la superficie del brazo y carvando con la herramienta directamente sobre éste; así, la textura queda menos geométrica, y todo queda más difuminado al no apreciarse tanto la marca de la herramienta en la cera.
The texture of the arms, is deliberately Cracked, a skin full of small cracks, and this is it by applying a thin piece of a plastic bag over the surface of the arm and carver with the tool directly on it, so the texture is less geometric, and everything is more blurred by not seen so much the mark of the tool in wax.
Manos/Hands:
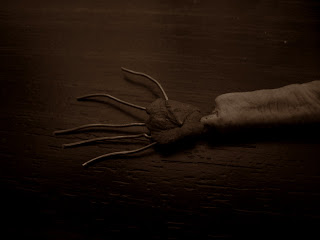
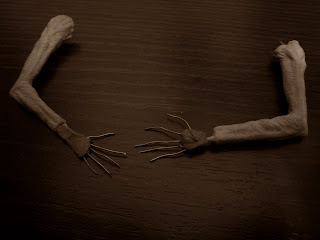
Para hacer las manos, pese a que la cera Castilene es bastante rígida, es mejor tener preparada una sólida base para trabajar, y ante la fragilidad de los dedos, colocar una estructura prévia de alambre de cobre, con sus correspondientes 5 alambres a medida, insertados en una pequeña "bola" de la masilla epoxídica "duro" o "green". Esta bola, se une al alambre de aluminio que hay en los brazos, y una vez la masilla ha endurecido, se puede comenzar a trabajar sobre ella con la cera Castilene.
To make the hands, although the Castilene wax is fairly rigid, it is better to have prepared a solid base to work, given the fragility of the fingers, placing a previous structure of copper wire, with their corresponding 5 wires to measure inserted in a small "ball" of the epoxy putty called "green". This "ball", joins the aluminum wire is in the arms, and once the putty has hardened, you can start working on it with Castilene wax